Most DIY drywall repair mistakes come down to one thing: rushing the parts that don’t seem important. A doorknob hole or a sagging seam looks easy enough, so preparation is neglected, compound is applied generously, and the entire job is painted before it is ready. DIY drywall repair is the process of repairing and finishing a damaged wall without hiring a professional. Get it right, and you save real money. Get it wrong, and you’re doing it twice.
Key Takeaways:
- The number one cause of patch failure is not preparing the surface; a clean, dry, dust-free wall holds compound much better.
- It is more important to match your patch to the actual hole size than to choose a product off the shelf.
- Thin coats always win, even if a thick coat seems quicker at first.
- Painting before the repair is fully cured and primed results in the dreaded “flashing” effect.
- Recognizing when a job is beyond your skill level is worth knowing, not something to be embarrassed about.
The 9 Most Common DIY Drywall Repair Mistakes
Skipping Surface Prep Before You Patch
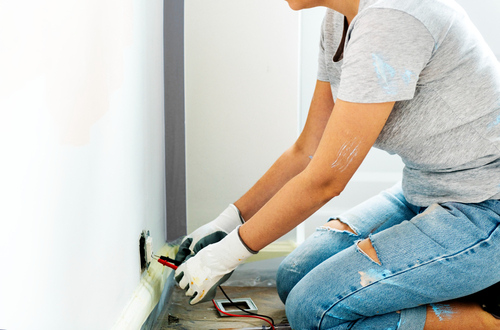
Preparation is 80% of a good repair and is almost always the first thing people forget. Joint compound will not adhere to flaking paint, dust, or crumbling edges, and the patch will come loose or crack in a few weeks.
The solution is simple but not exciting. Clear away loose parts, trim torn paper to a clean edge, and dust off. Only a compound can adhere to a surface that is prepared for it.
Using the Wrong Patch for the Hole Size
A pinhole and a fist-sized gap are two different jobs, and treating them alike is a classic misstep. Solid DIY drywall hole repair comes down to matching your method to the damage in front of you.
A small dent? A dab of compound does the trick. A DIY drywall repair for a large hole is another story and requires backing, usually a patch panel or a piece of board screwed to a brace. Measure first, and whatever you do, don’t try to bridge a big opening with just tape and mud. It’ll sag every time.
Relying on a Cheap or Incomplete Drywall Repair Kit
A DIY drywall repair kit is genuinely useful for minor dings, but many folks expect one little kit to cover every problem in the house. The mesh and compound inside are designed for small fixes, not gaping holes.
Therefore, be sure to confirm what the kit is rated for before purchasing, and have other materials on hand for the larger items. Consider it one tool in the toolbox, not the entire toolbox.
Applying Too Much Joint Compound at Once
Joint compound, what most people call “mud,” applies best in thin layers. Beginners almost always apply one thick glob in a single pass to fill the hole, figuring it’ll save time.
It doesn’t. That heavy layer shrinks unevenly, cracks down the middle, and sands out into a cratered mess. Build up two or three light coats instead and let the wall come together gradually. The patience shows in the finish, every time.
Not Letting Each Coat Fully Dry
Although drying time tests patience, it is not optional. If you apply a new coat over a wet one, you will trap moisture, causing bubbling, cracking, and a soft spot that never sets.
How to avoid it: follow the dry time on the product; it should feel cool and firm before you go again. Our humid Ottawa summers can extend this, so give it the time it asks for.
Over-Sanding the Patch
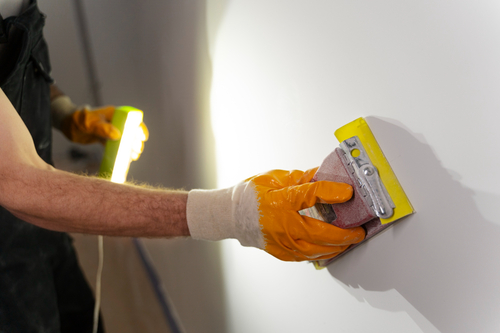
Sanding is oddly satisfying, which is exactly why people overdo it. If you press too hard, you will rip into the board’s paper face, scuff the wall around the board, or expose the very mesh you just buried.
Grab a fine-grit sanding sponge, sand lightly, and stop as soon as the patch is smooth and level. You are blending, not grinding.
Forgetting to Feather and Blend the Edges
Even if a patch is filled in perfectly, it can still stand out like a sore thumb if the edges are not feathered. Feathering simply means thinning the compound outward so the repair blends into the wall without a ridge.
Leave a hard line around your fix, and it’ll catch the light and give itself away, especially on a flat sheen. Widen each coat slightly beyond the one before, and feather the outer edge until you can barely feel where the patch ends.
Painting Over the Repair Too Soon
This is the one that quietly undoes all your careful work. A fresh DIY drywall patch repair absorbs paint differently than the surrounding wall, so the spot reads as a dull, mismatched halo. Painters call it flashing.
Let the repair cure completely, then prime the area before applying your topcoat. Primer seals the porous compound and evens out how the paint sits, and just like that, the fix disappears.
Taking On a Job That Really Needs a Pro
Knowing your limits is not giving up; it is good judgment. Water damage, ceiling cracks, large structural openings, and matching texture across an entire wall are areas where even the most self-assured DIYers get in over their heads. In a survey of nearly a thousand homeowners, 17% of DIYers said they ended up damaging their home or appliances during a repair attempt, turning a small fix into a bigger one.
Be honest with yourself about the scope before you crack open a tub of compound. If the repair involves plumbing, wiring, or a long section of ceiling, it is much cheaper to call for help early than to fix a botched repair later.
DIY vs. Professional Drywall Repair: How to Know Which You Need
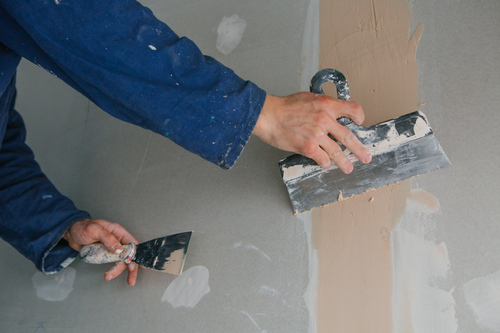
It’s really a matter of three things: the extent of the damage, the tools you have, and how inconspicuous you need the result to be. A patient homeowner can easily repair small holes and dents, while major damage typically requires professional drywall repair.
A drywall repair specialist will know how to match the texture, dry in difficult areas, and finish the repair so it is invisible. Rough rule of thumb: if it is smaller than your hand and on a flat wall, go ahead and DIY. If it is bigger than that, on a ceiling, or somewhere everyone sees, the time and headache saved by hiring drywall repair experts usually pays for itself.
How T.P. Hogan Handles Drywall Repair in Ottawa
When you bring us in, we take the whole repair off your plate and finish it so the damage is never there. Here’s how our crew works through a job:
- Full surface prep, plus a proper look at what caused the damage in the first place
- Patching, taping, mudding, and careful texture matching to blend seamlessly into the existing wall
- Premium materials and the right drying time between each coat
- Prime before painting so repairs never flash or ghost through later
- Honest, upfront quotes with no hidden fees in the fine print
- Service throughout Ottawa and the surrounding areas, including Kanata, Barrhaven, Orleans, and Nepean
We’re a family-run team, so the wall in your place gets the same care we’d give our own. Our drywall repair professionals treat clean, respectful work as part of the deal, not an afterthought.
Ready for a Flawless Finish?
Nearly every mistake on this list circles back to the same root: rushing the prep and skipping patience. That’s the part we’ve built our reputation on over four decades in Ottawa, treating every wall as if it were in our own home.
If the repair is beginning to sound like a weekend project, or you’d just prefer to get it right the first time, we’re happy to take a look. Contact us today to get a no-cost, no-obligation quote and have your walls look seamless once again.
Frequently Asked Questions:
What are the most common drywall repair mistakes to avoid?
The most common drywall repair mistakes include not preparing the wall, applying compound too thickly, over-sanding, and painting without priming. Each one returns later as a cracked, lumpy, or mismatched patch.
Can I do a DIY drywall repair on a large hole myself?
Yes, as long as the work is very small in scope and you add backing behind the hole and screw a patch panel to a brace. Build the compound in thin coats and feather the edges. Very large or ceiling holes are best left to a pro.
Is a DIY drywall repair kit good enough, or should I hire a pro?
A kit is good for small dents and pinholes. If it’s anything bigger, such as water damage or visible texture matching, a professional will give you a cleaner result that lasts.
When should I hire a drywall repair professional instead of doing it myself?
When there is a ceiling, water, structural openings, or wide texture matching involved, call a drywall repair professional. These jobs require experience and equipment that most homeowners don’t have on hand.